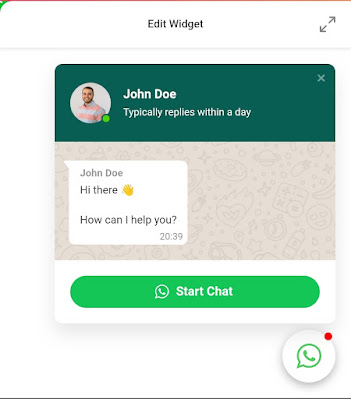
SIMPLE WAY MAKE FLOATING WHATSAPP IN BLOGGER
SIMPLE WAY MAKE FLOATING WHATSAPP, here are some additional tips for adding a floating WhatsApp button to your Blogger website:
SIMPLE WAY MAKE FLOATING WHATSAPP IN BLOGGER
Here are the steps on how to put a floating WhatsApp button on your Blogger website:
- Go to the Elfsight website and create a free account.
- Select the "WhatsApp Chat Widget" and click "Create".
- Enter your website URL and click "Next".
- Choose the layout of your chat widget. You can choose from "Floating Bubble", "Embed Bubble", or "Embed Chat Window".
- Select the icon for your chat widget. You can choose from a variety of icons, or upload your own.
- Enter your WhatsApp number and a welcome message.
- Click "Save".
- Copy the code that is generated.
- Go to your Blogger dashboard and click on "Theme".
- Click on the "Edit HTML" tab.
- Paste the code that you copied from Elfsight in the body of your theme file, just before the closing </body> tag.
- Click on "Save".
- Go to your website and you should see your floating WhatsApp button!
Here are some additional tips for adding a floating WhatsApp button to your Blogger website:
- You can use the "Start Chat Trigger" setting to specify when the chat widget should appear. For example, you can set it to appear when a visitor scrolls to a certain point on your page, or when they click on a specific button.
- You can use the "Welcome Message" setting to customize the message that appears when someone clicks on your chat widget. This is a great way to introduce yourself and your business to visitors.
- You can use the "Colors" setting to change the color of your chat widget. This is a great way to make it match the color scheme of your website.
I hope this helps!

